All Case Studies
    Dock Leveler Repair · Case Study

    Dock Leveler Swap in Compton: When One Leveler Is Beyond Repair, Move the Good One

    Nov 3, 2026 Compton, CA Dock Leveler Swap
    By InSev TechPublished

    Short answer

    When a Compton distribution warehouse lost its front-bay dock leveler to damage that could not be repaired, the fastest safe fix was not a new leveler — it was a swap. Our crew moved the site's unused rear-bay mechanical leveler into the front pit, welded and shimmed it to fit, welded the failed unit shut in the rear pit so it can never be used by accident. The front bay is back in daily service.

    2 visits
    ~9 crew-hours total, two-technician crew
    Front bay back in daily service
    01

    The Problem

    Compton, CA · distribution warehouse

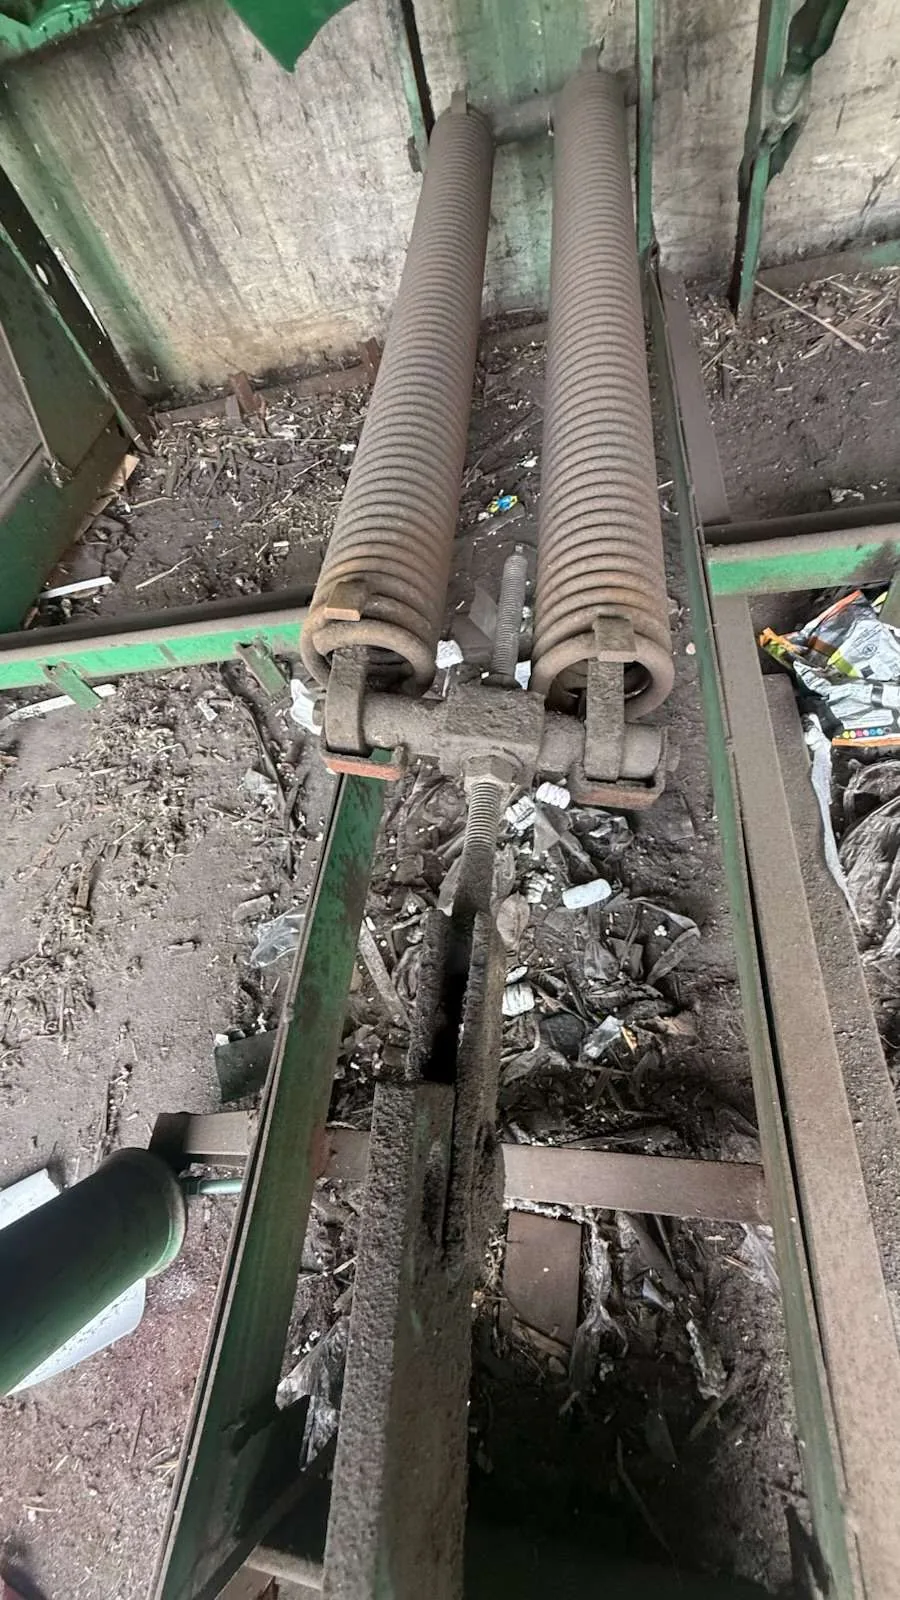
    The warehouse runs mechanical dock levelers in a front bay and a rear bay. On our first visit (October 27), we deep-cleaned both levelers and their pits — years of dirt, debris and buildup had collected underneath — and repaired one leveler's spring system (Dock #1): the damaged spring tensioner was replaced, springs were extended, secured and adjusted, and every friction point was lubricated. That unit tested fine, repeatedly.

    The second leveler — the front-bay unit (Dock #2) — was a different story. Its damage was extensive enough that repair was not a safe option. A dead dock at a working warehouse is both a bottleneck and a hazard: if someone tries to use a failed leveler, people get hurt.

    02

    What We Found

    • Dock #1: failed spring tensioner (replaced), heavy pit contamination, springs and lip mechanism out of adjustment.
    • Dock #2 (front bay): damage beyond repair — not a parts problem, a structural one.
    • The site also had an unused dock position on the other side of the warehouse with a functional leveler sitting idle.
    03

    What the Repair Included

    Second visit, November 3

    This dock leveler repair included:

    1. Secured the dock opening and confirmed the work area was safe.
    2. Cut the welds holding the damaged front leveler, removed it from the pit, and relocated it to the rear bay.
    3. Cut free the functional rear leveler and moved it into the front pit.
    4. Fabricated and shimmed both units so each fit its new pit, then welded them into position.
    5. Welded the failed leveler shut in the rear pit and secured it — it cannot be raised or used.
    6. Lubricated and adjusted the front leveler, and it is now ready for daily operational use.
    04

    Straight Talk: Repair vs. Replace

    A leveler with a failed tensioner, worn springs or a dirty, binding pit is a repair. A leveler with extensive structural damage is not — no parts list fixes it. Before quoting a full replacement, check whether the site has an unused position with a sound unit: a swap reuses an asset the site already owns, avoids new-equipment lead time, and the failed unit still has to be made safe either way. That is the order we recommend: inspect, cost the repair honestly, and only replace when the structure says so.

    05

    The Result

    • The site's sound rear leveler was moved into the front pit — fabricated, shimmed and welded to fit — and the front bay returned to daily service.
    • The failed leveler was welded shut in the rear pit and secured, so it cannot be raised or used by accident.
    • The front leveler was lubricated and secured, and the front dock is operational for daily use.
    • Total hands-on time across both visits: about 9 crew-hours (two-technician crew), including the first visit's cleaning and spring repair.
    07

    Project Gallery

    9 real field photos from this job — no customer name, address, or contact details in any photo or caption.

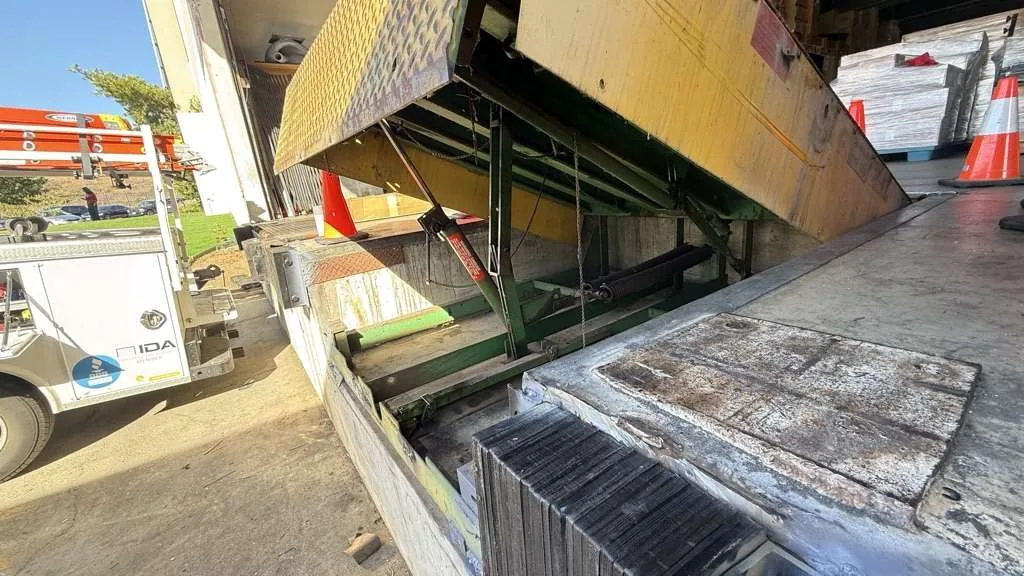
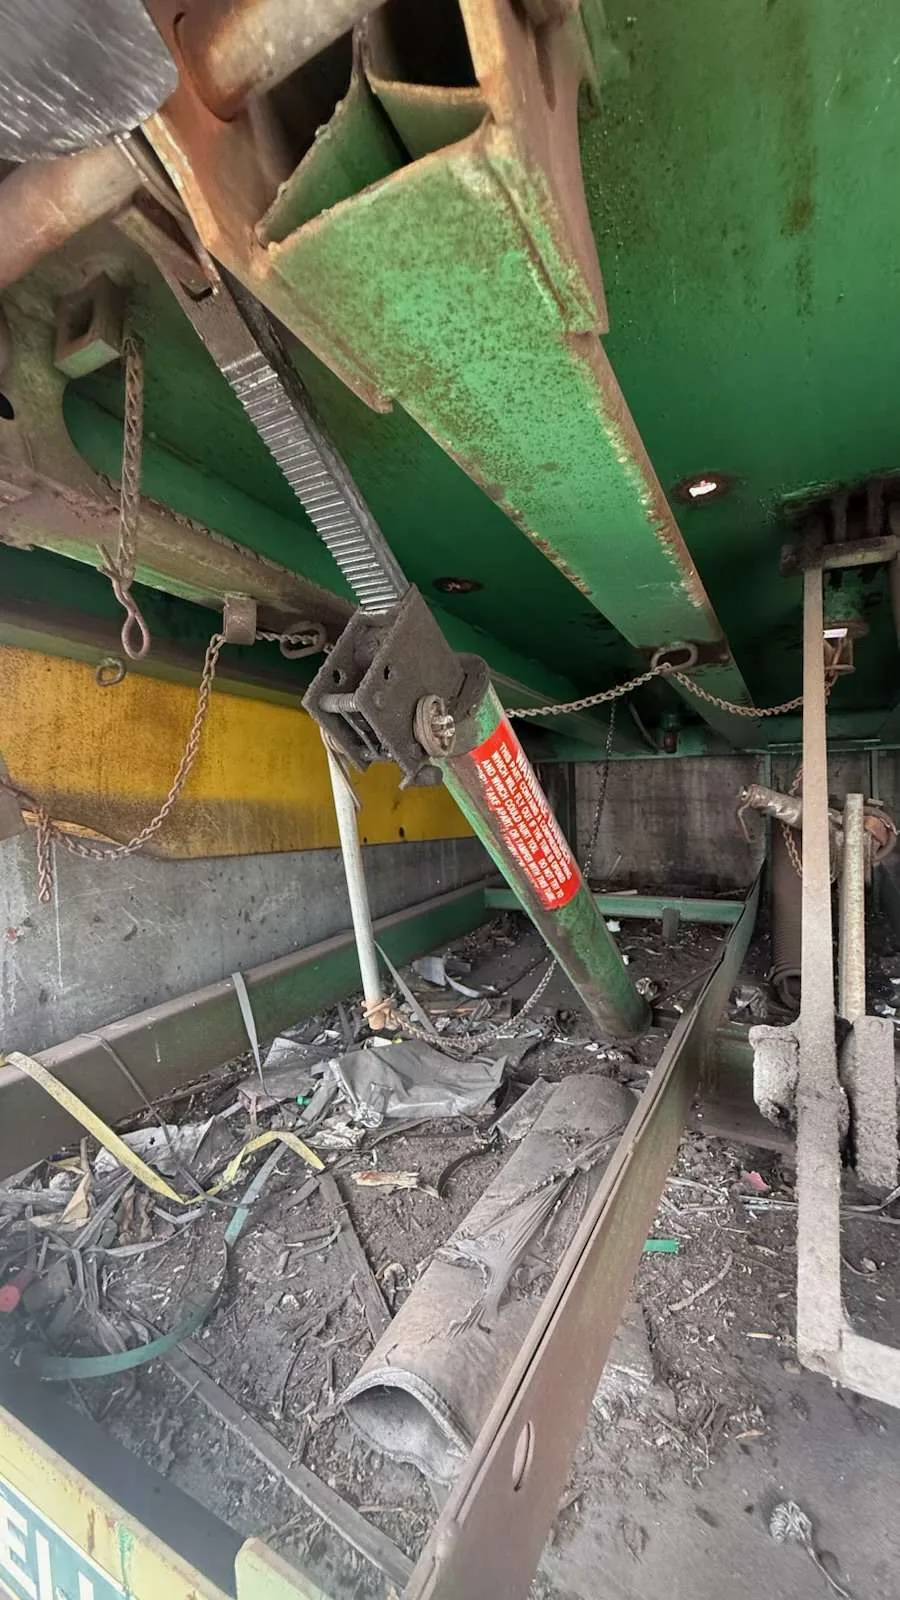
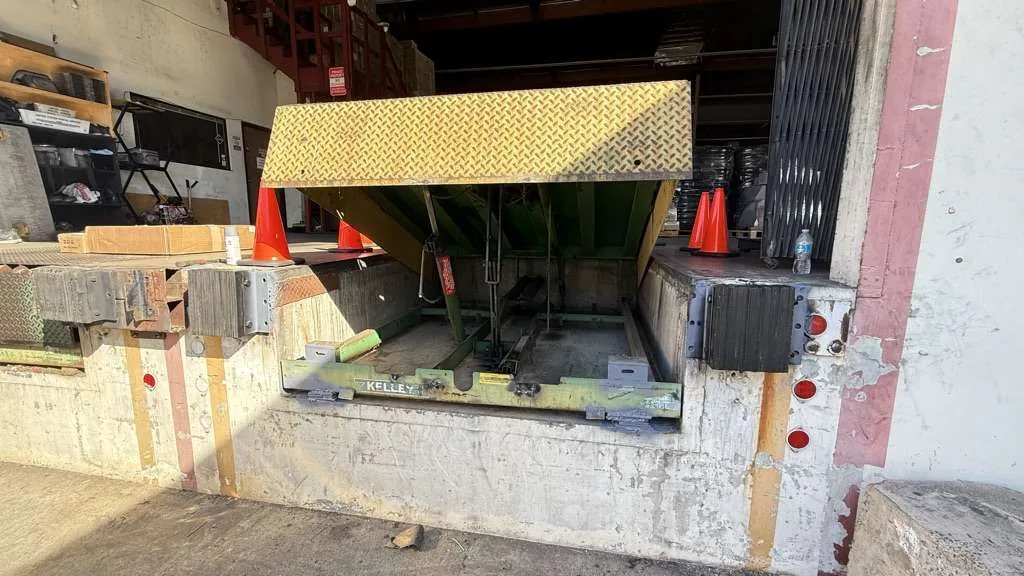
    Raised leveler
    1. Raised leveler
    Swap work in progress
    2. Swap work in progress
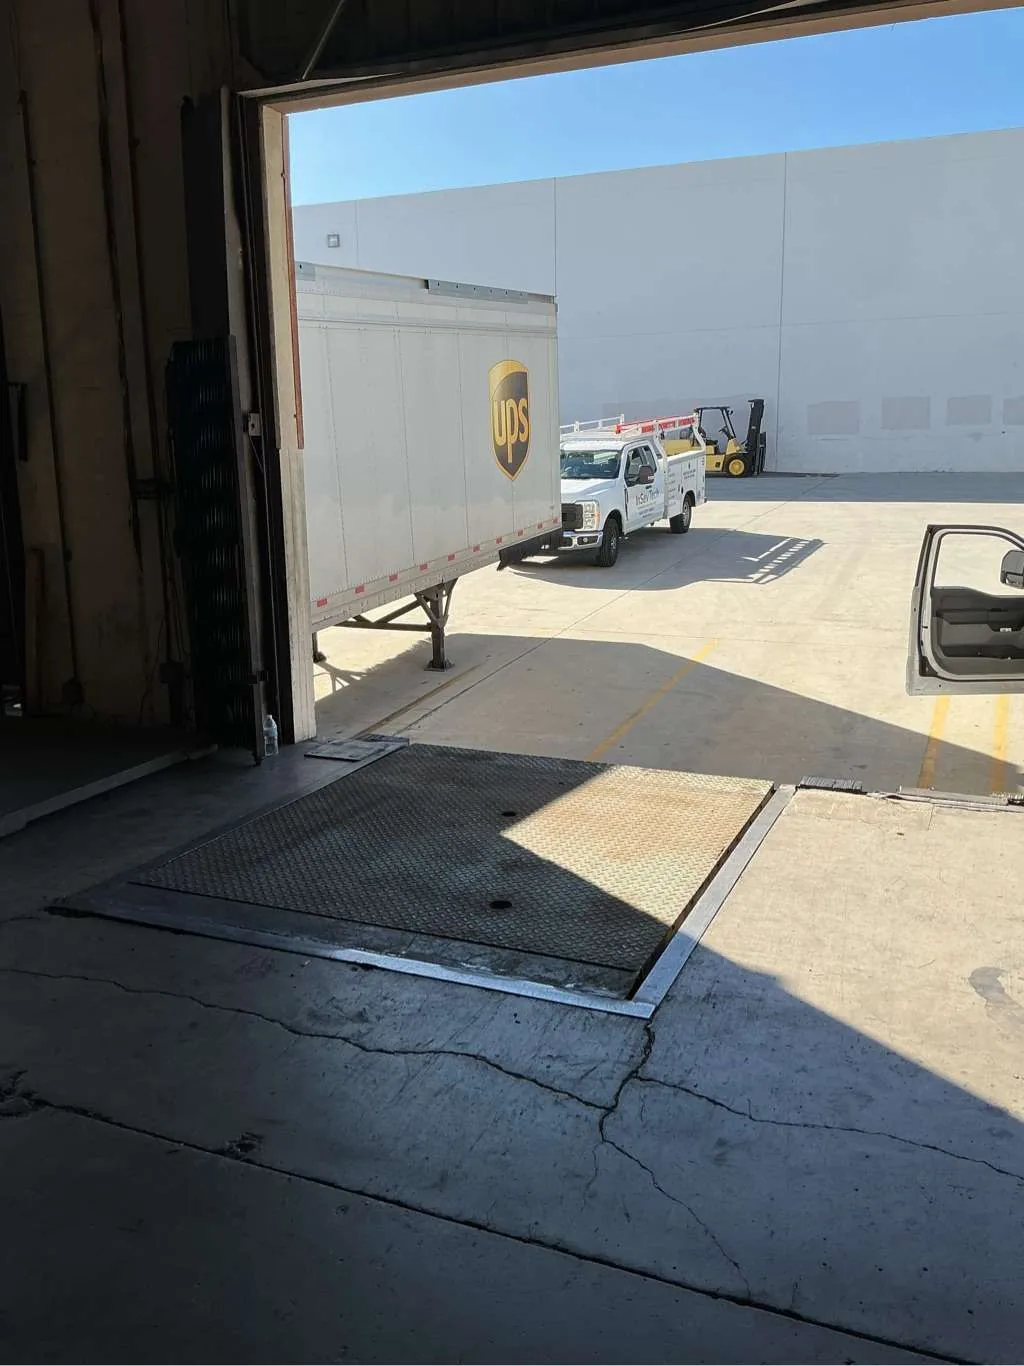
    truck backed in at the repaired front dock
    3. truck backed in at the repaired front dock
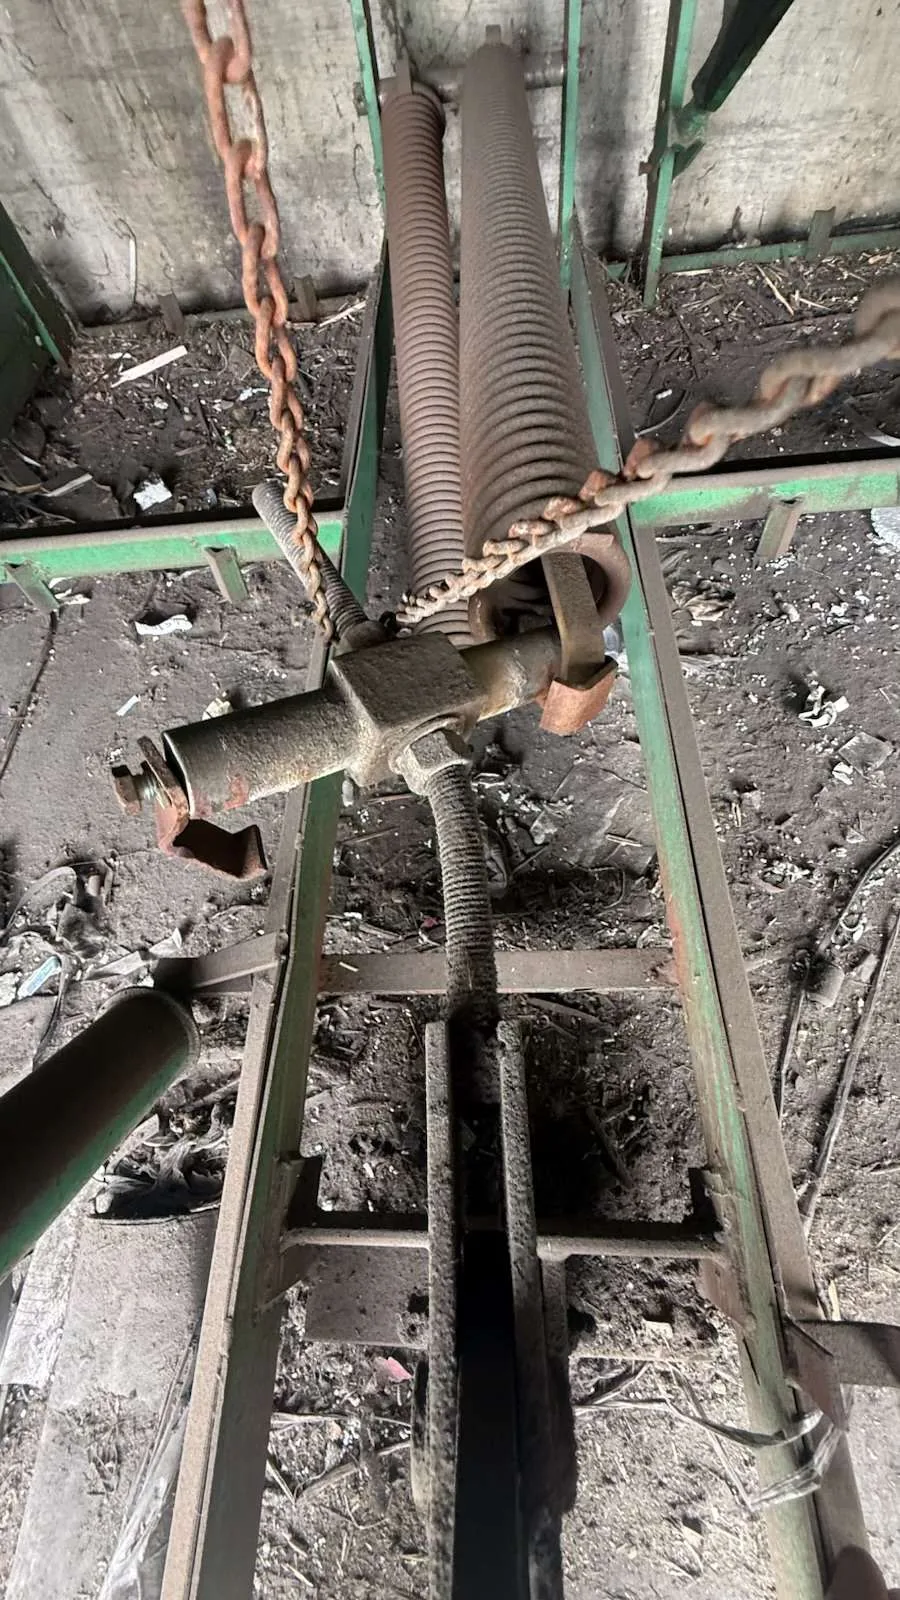
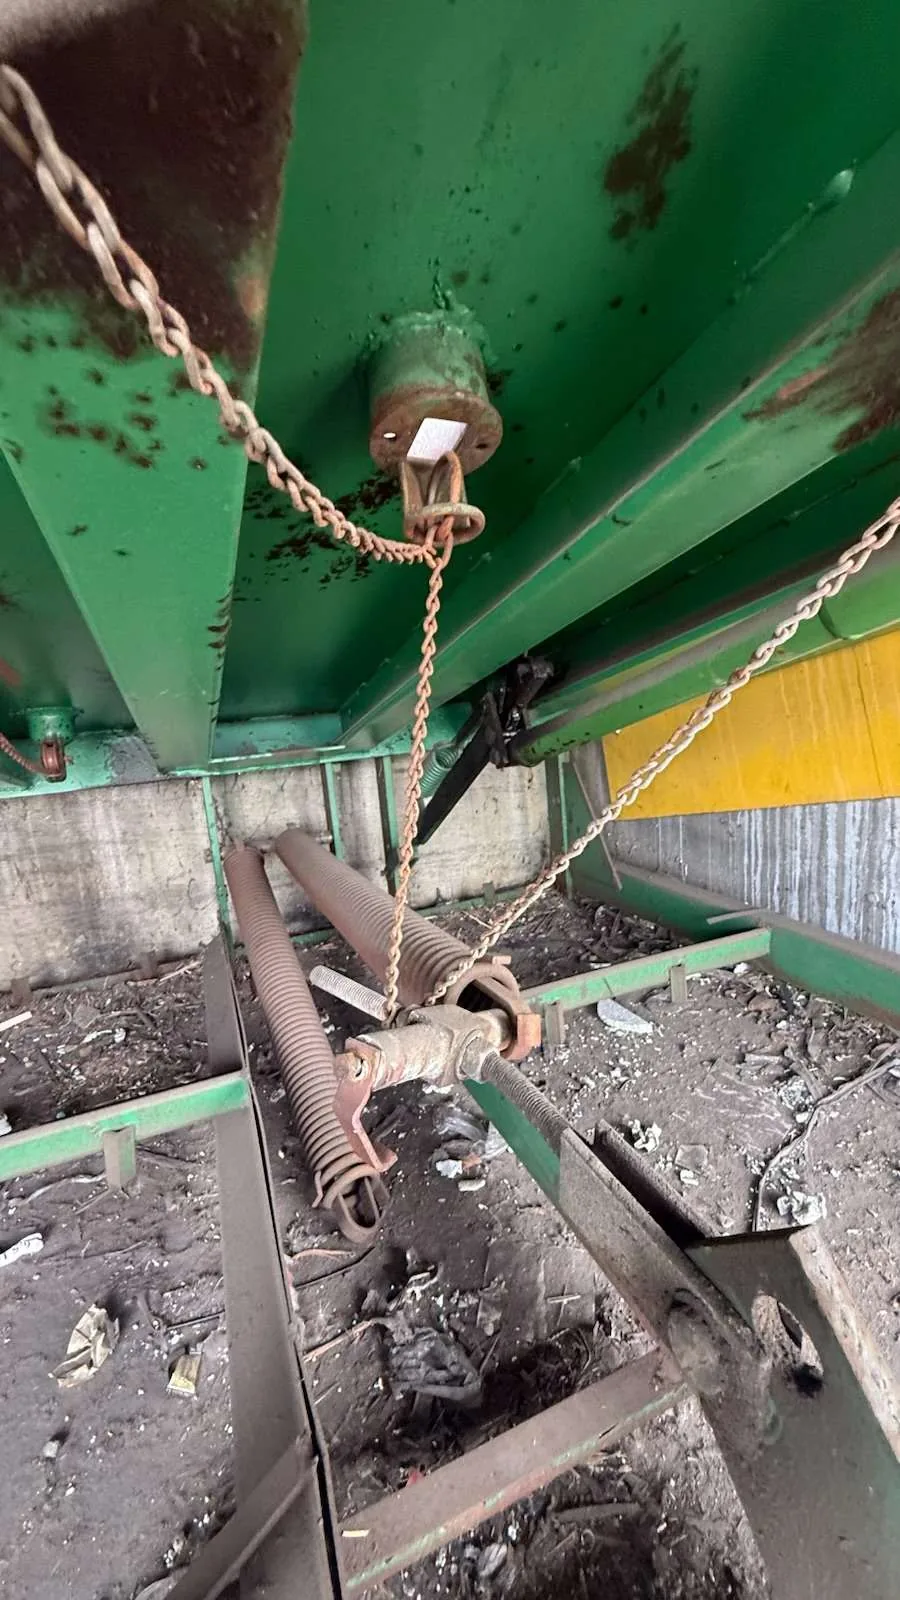
    Pit and springs
    4. Pit and springs
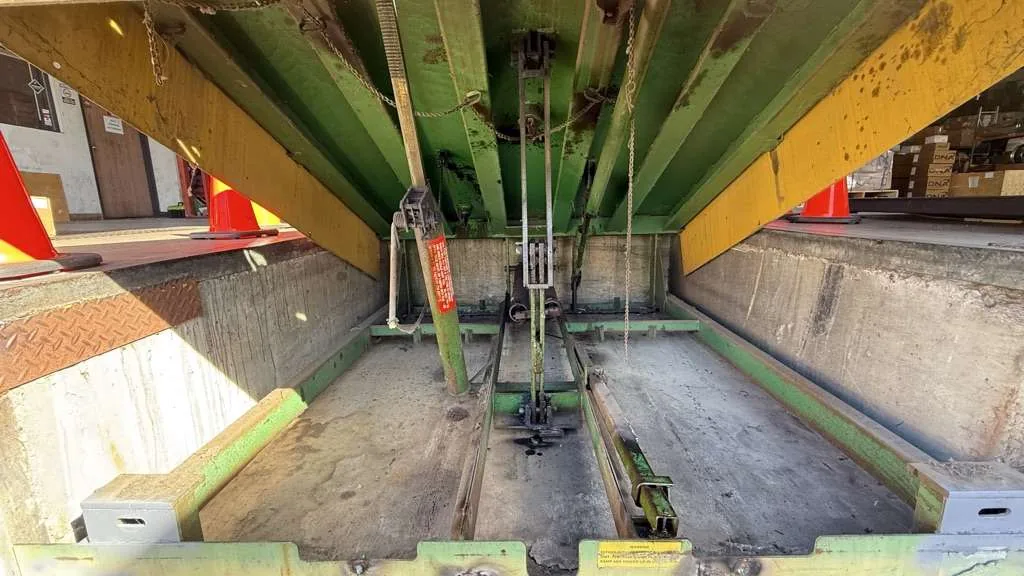
    Empty pit
    5. Empty pit
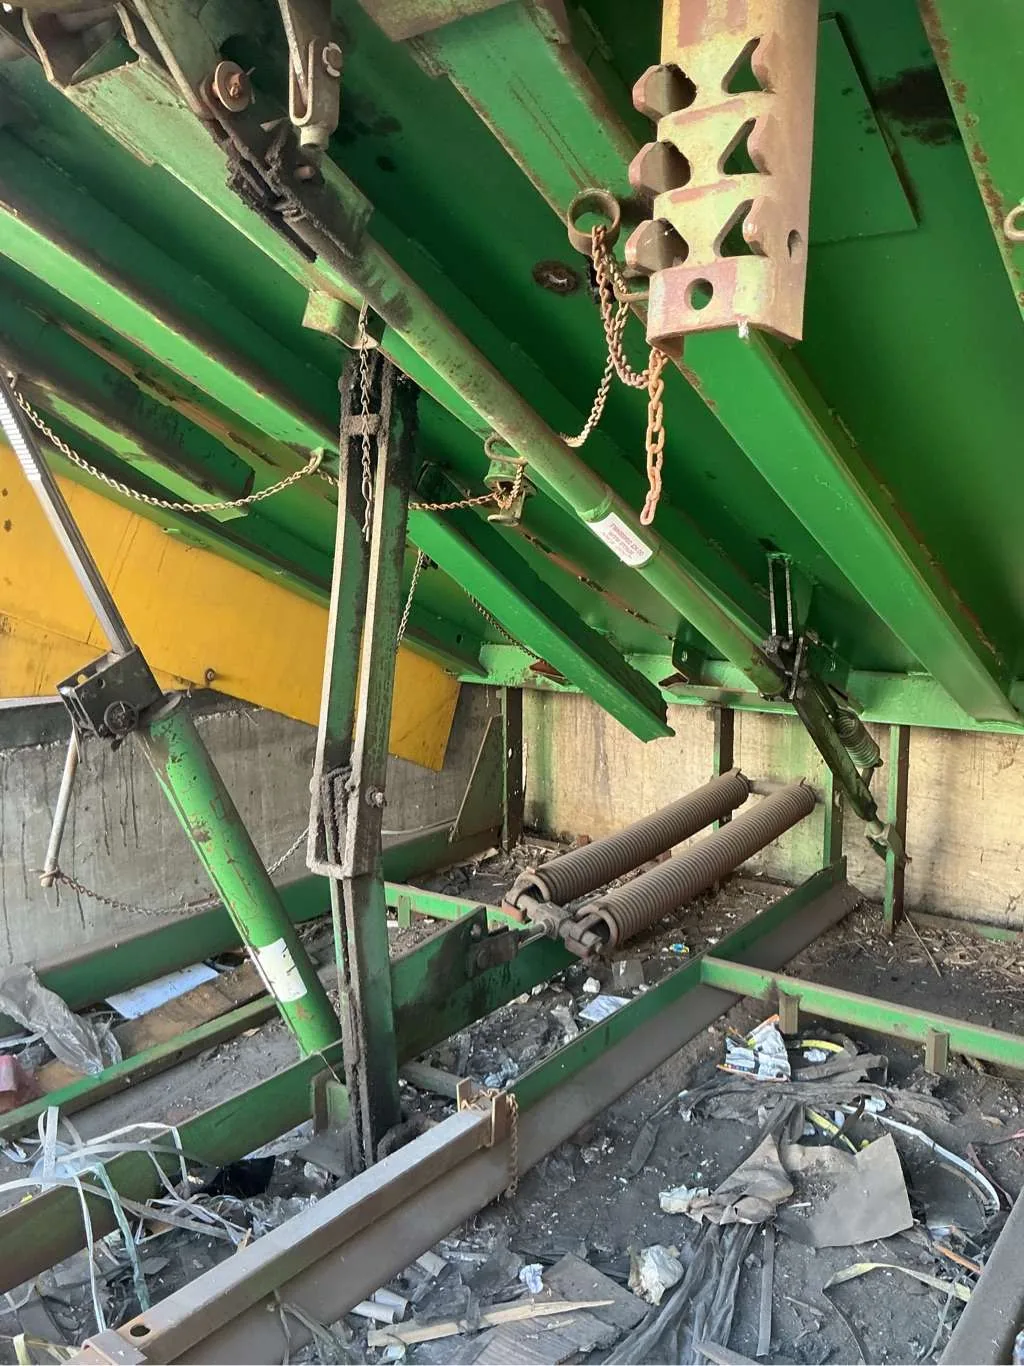
    Tension springs and tensioner
    6. Tension springs and tensioner
    Dirty pit, top-down (before cleaning)
    7. Dirty pit, top-down (before cleaning)
    Pit, wide view
    8. Pit, wide view
    Spring assembly
    9. Spring assembly
    08

    Frequently Asked Questions

    1. How long does a dock leveler swap take?

    This swap was completed in a single return visit (about 4 crew-hours with a two-technician crew) after a first visit for cleaning, diagnosis and spring repair. Timing depends on pit condition and how much fabrication the new fit needs.

    2. Why weld a damaged leveler shut instead of just tagging it?

    Tags and chains get ignored. A welded-shut leveler physically cannot be raised, which removes the risk of someone driving a forklift onto a failed unit.

    3. What are the signs a mechanical leveler's springs are failing?

    The deck becomes hard to lift or won't stay up, the lip drops early, or the leveler slams. Spring tensioners and keeper tabs are wear parts — catching them early is a small repair; ignoring them damages the whole mechanism.

    4. How often should dock pits be cleaned?

    At least annually on a working dock, and any time debris builds up under the leveler. Debris in the pit binds the mechanism, holds moisture against the steel, and hides damage until it becomes a failure.

    5. Can a dock leveler be repaired instead of replaced?

    Usually, yes — springs, tensioners, lips, shocks and adjustments cover most failures. Replacement (or a swap like this one) is for structural damage: cracked frames, torn hinges, or a deck that no longer sits true in the pit.

    Pit cleaning, spring checks and leveler adjustments can be scheduled as part of preventive maintenance.

    Call 24/7 — (657) 377-0809